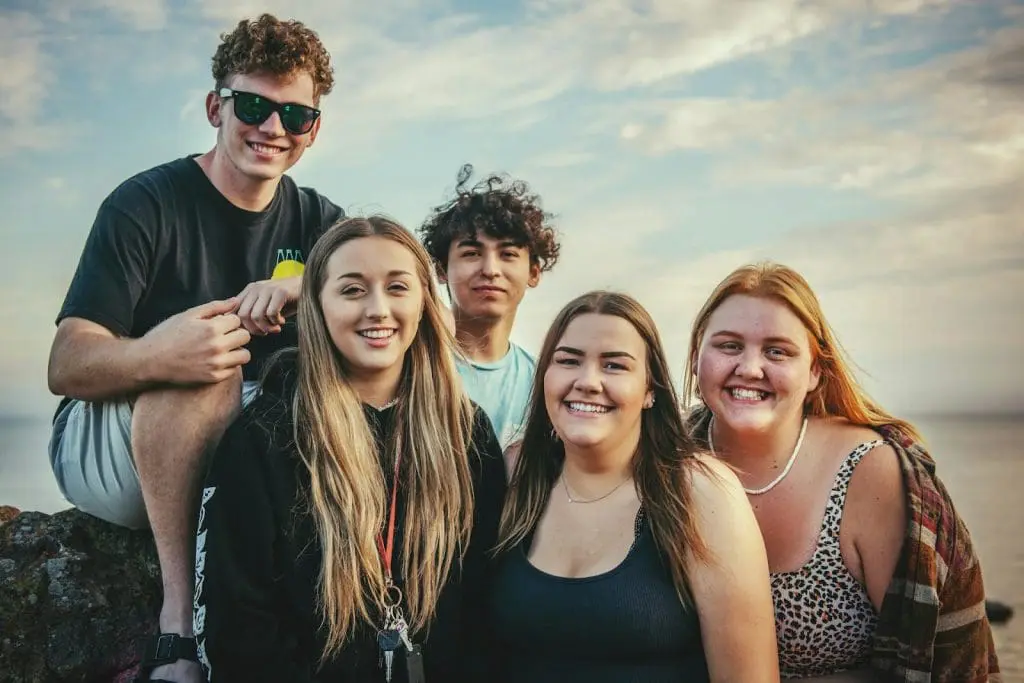
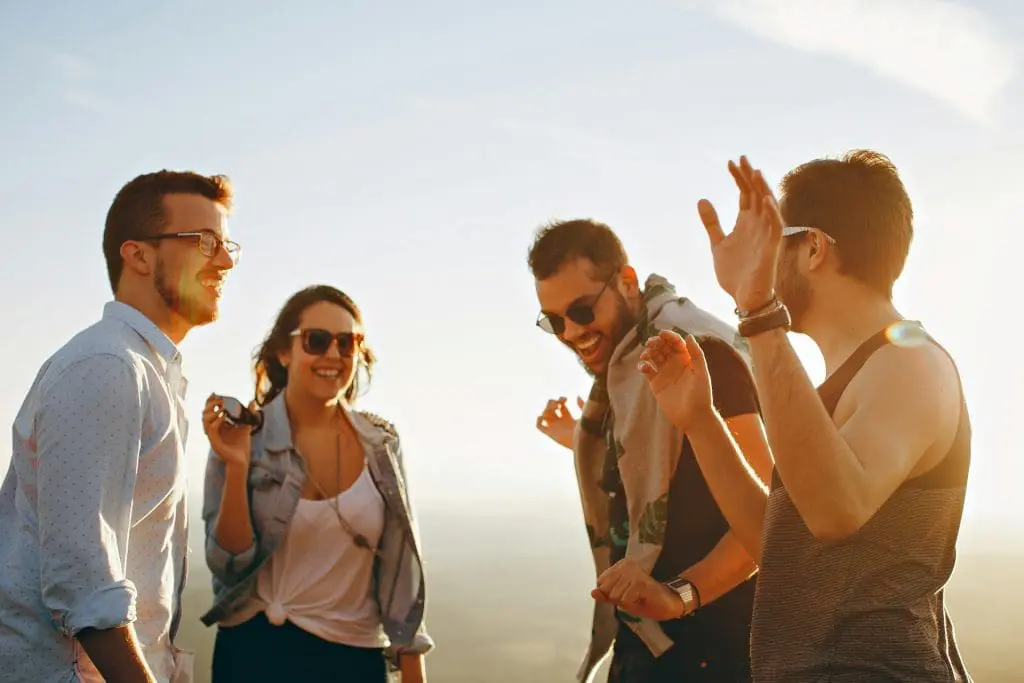
Imagine you’re out in the countryside with a group of friends, and you want to take a photo of all of you together, but there’s no one around to capture you, and you don’t have the technical ability to take a selfie nor to set the camera to photograph you all after a countdown. How can you ensure that no one is missing from your group photo?
The only solution is to add a person to the picture in post-production. This technique can be used in many other situations, which we’ll cover in this article. You’ll find 7 photomontage ideas of this kind and a step-by-step guide to doing it seamlessly and without too much effort. To find out more, follow the link and learn how to add a person to a photo in this illustrated tutorial. And now let’s move on to ideas.

7 Ideas For Adding Someone To A Photo
#1. Adding A Friend Who Wasn’t There
It may be the case as described above, when a person was there but couldn’t be present in the group photo being a photographer. Another example of this kind may be a situation where a friend couldn’t come with you to a place or an event he wanted to visit. He might feel a little less disappointed at having missed your meeting if you add him to one of the photos you take together.
#2. Including A Deceased Person In A Special Event Photo
Sad as it is, it can happen that a grandfather died before the birth of his grandson, or that a grandmother passed away on the eve of the long-awaited wedding of her granddaughter. In such situations, it can be a consoling gesture for the family of the deceased and an expression of gratitude to them to include them in photos of the event they were unable to attend.
#3. Showing Absent People In A Group Photo
For example, at a conference, corporate outing, graduation or other event where a whole group from a company, a school or another organization is present, at the crucial moment when the group photo is taken someone has left to answer a call. It would be a shame if you didn’t see them in that memorable photo. To remedy this, you can insert them afterwards.
#4. Putting Together A Team Photo With All Of The Members
It can be difficult to get all the members of a sports team or a creative group together for a photo because of everyone’s busy schedules or working at a distance. Assembling a group photo from individual portraits helps to create a united team image without having to bring everyone together in one place.
#5. Updating Family And Team Portraits With New Members
It can be an interesting idea to add new family members – in-laws, for example, or adopted children, to family portraits to highlight the fact that they are now part of the family. The same goes for photos of a company’s team posted on their official website, which can be regularly updated with photos of newly recruited employees.

#6. Making Funny Or Creative Photomontage
It might be a good idea to play a trick on your friends by putting yourself or someone else in a photo with celebrities you claim to know. You can also make funny photomontages without trying to fool anyone but just for a laugh or to visualize your desires and dreams: insert yourself into a scene from your favorite movie, for example, or show yourself in front of a dream house or in a dream vacation place.
#7. Emphasizing Scale and Perspective
By adding a person to a photo, especially into landscapes or architectural shots, you can provide a sense of scale and perspective. This can help viewers understand the size and grandeur of the surrounding environment.
How To Add People To A Photo With PhotoWorks
Let’s take a look now at how to add a person to a photo using PhotoWorks – a smart, user-friendly image editor that combines a wide range of features with great ease of use. Here are the steps to follow:
Step 1. Download PhotoWorks from the official website and install it on your computer.
Step 2. Launch the software and open the photo of the person you would like to add to a group photo.
Step 3. Click on Tools and find the Change Background option.
Step 4. Highlight the person with the green brush. You don’t have to follow the outline precisely.
Step 5. Mark the background with a red brush. The program will remove it automatically.
Step 6. Correct the edges if necessary. Use the same brushes to erase snippets of background and to restore missing parts of the model.
Step 7. Add the other photo. Click on Select New Background and upload the image to which you want to add the person.
Step 8. Adjust the size and position of the overlay and match its colors to those of the background image.
Step 9. Save your edited photo as a JPG or PNG file.
Your new recomposed photo is now ready. All that’s left to do is print it out for your family album, share it with your friends on social networks or publish it on your company or organization’s website.

As you can see, adding a person to a photo is a breeze with PhotoWorks, which lets you enhance your photos in many other ways: correct colors, crop images, superimpose text and stickers, remove unwanted objects, retouch faces, apply artistic filters and much more. Try out this easy-to-use photo editing software and see for yourself.
